


 17 / 46

19
VII. TALL CABINETS
A. Tall Cabinet Installation
1. Tall cabinets that are 24” deep are installed along with the base cabinets, while 12” deep tall cabinets are
installed along with the wall cabinets.
2. Install and attach any adjacent base and wall cabinets to the wall and to the tall cabinet before you attach the
tall cabinet to the wall. This will help to make sure the tall unit is plumb.
B. Utility Skins
If installing a wall cabinet next to a tall cabinet, glue
a Utility Skin to the exposed sides of the tall cabinet
before it is installed. This will create a flush side
on the tall cabinet for the wall cabinet to butt up
against and to line up with the base cabinet below. A
flush side is available for an extra fee.
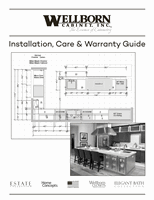
C. Utility Fillers
If using a Pantry Shelf Kit 18 or 36 with hinging next
to a wall, then a 6” filler must be used to ensure that
the doors of the tall cabinet will open wide enough
to allow for these kits to work properly. See “uneven
wall” instructions.
D. Oven Cabinets
1. If using a wall oven, refer to the Wellborn
Specification Catalog to verify that the
appropriate size cabinet is being used according
to the specifications of the appliance.
2. A support kit is furnished in the oven cabinet
and should be used to provide full support for the
appliance. It is important that the weight of the
appliance is supported within the cabinet.
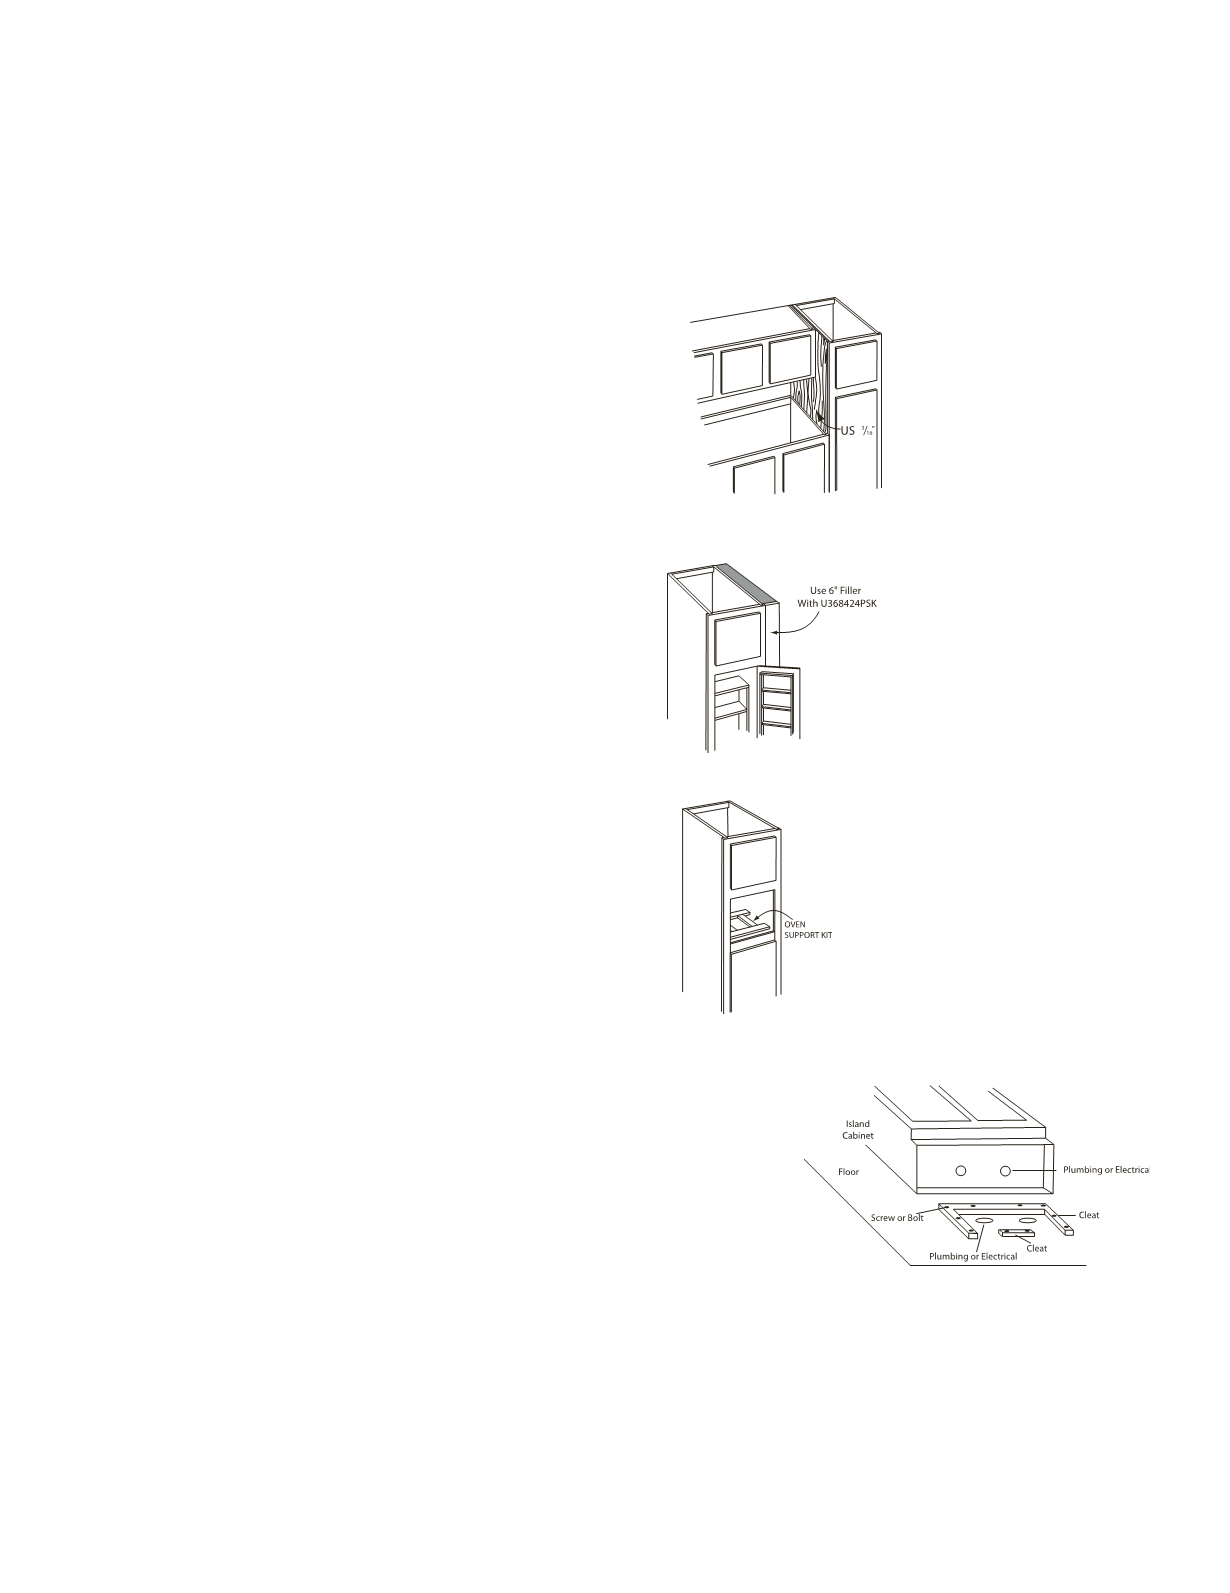
VIII. ISLAND CABINETS
1. Before securing island cabinets in place, cut any holes
required for plumbing or electrical in the floor and cabinet
floor.
2. Island or peninsula cabinets are secured to the floor with
cleats.
3. Temporarily set the cabinets in place and mark the
outside corners of the toe board on the floor.
4. Move the cabinets aside and measure inside your marks a
distance equal to the thickness of the toe boards. Mark a line.
5. Depending on the sub floor, nail, screw or bolt cleats to the floor with their faces on the outside perimeter lines.
6. Lift the cabinet over the cleats and shim as required to level and plumb the cabinets.
7. Screw through the toe kicks to secure them to the cleats. To prevent exposure of screws, you may choose to
use construction adhesive instead of screws.