


 16 / 46

18
VI. FILLERS
Fillers are placed at the end of a run of cabinets when they butt up to a wall or to compensate for odd measurements.
They are also placed next to a Corner Base Cabinet to allow for drawer opening clearances. Fillers are available in 3” and
6” increments in a variety of heights. Fillers generally need to be trimmed to fit. To trim a filler properly, use a scribe tool.
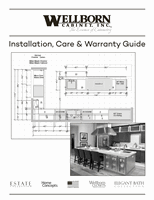
A. Uneven Wall
1. When attaching a filler between a cabinet and an
uneven wall, begin by holding the filler over the
face frame of the cabinet and up to the wall. The
distance that the filler overlaps the cabinet is the
same distance that you set your scribe tool over.
2. Draw a line down the filler following the contour
of the wall.
3. Cut and sand the filler along the line you’ve drawn.
4. Place and secure with screws like you would when
joining face frames together.
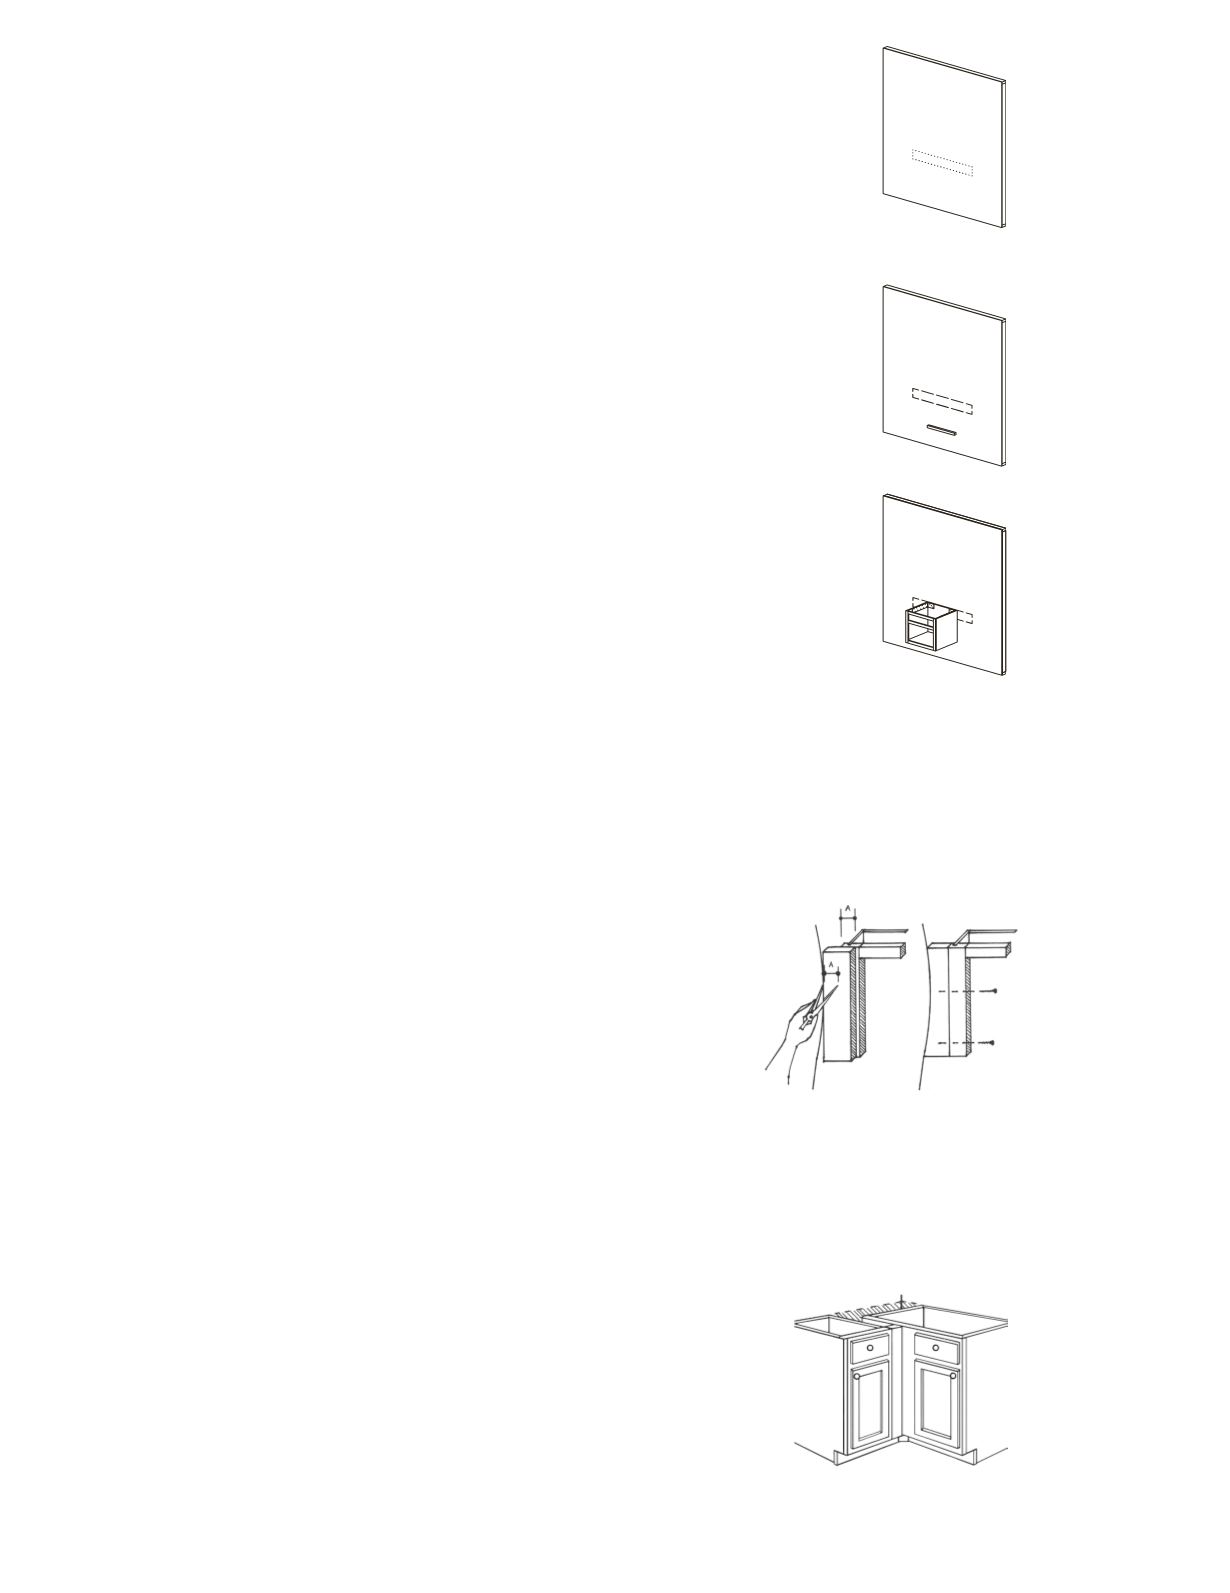
B. Corner Fillers
If you are using a Corner Base Cabinet, then you
should check your plans to determine what size
filler or extended stile needs to be installed for
drawer clearance.
5. Replace removed portion of drywall.
6. The ledger strip should be cut 2” less than run length of the cabinets. Place
in center of run length, securing to studs using 3” screws (not included).
7. Set vanity on ledge strip and secure metal bracket to the 2 x 6 by using 1/4”
x 3” lag bolts (not included). Vanities that join a side wall must be attached
by 3” screws (not included) into the studs. Cabinets that do not require a
hanging bracket must be secured to an adjacent cabinet or wall.