


 8 / 46

10
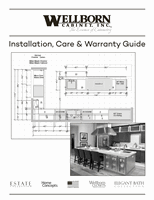
VII. REMOVAL OF OLD CABINETRY
A. Bases
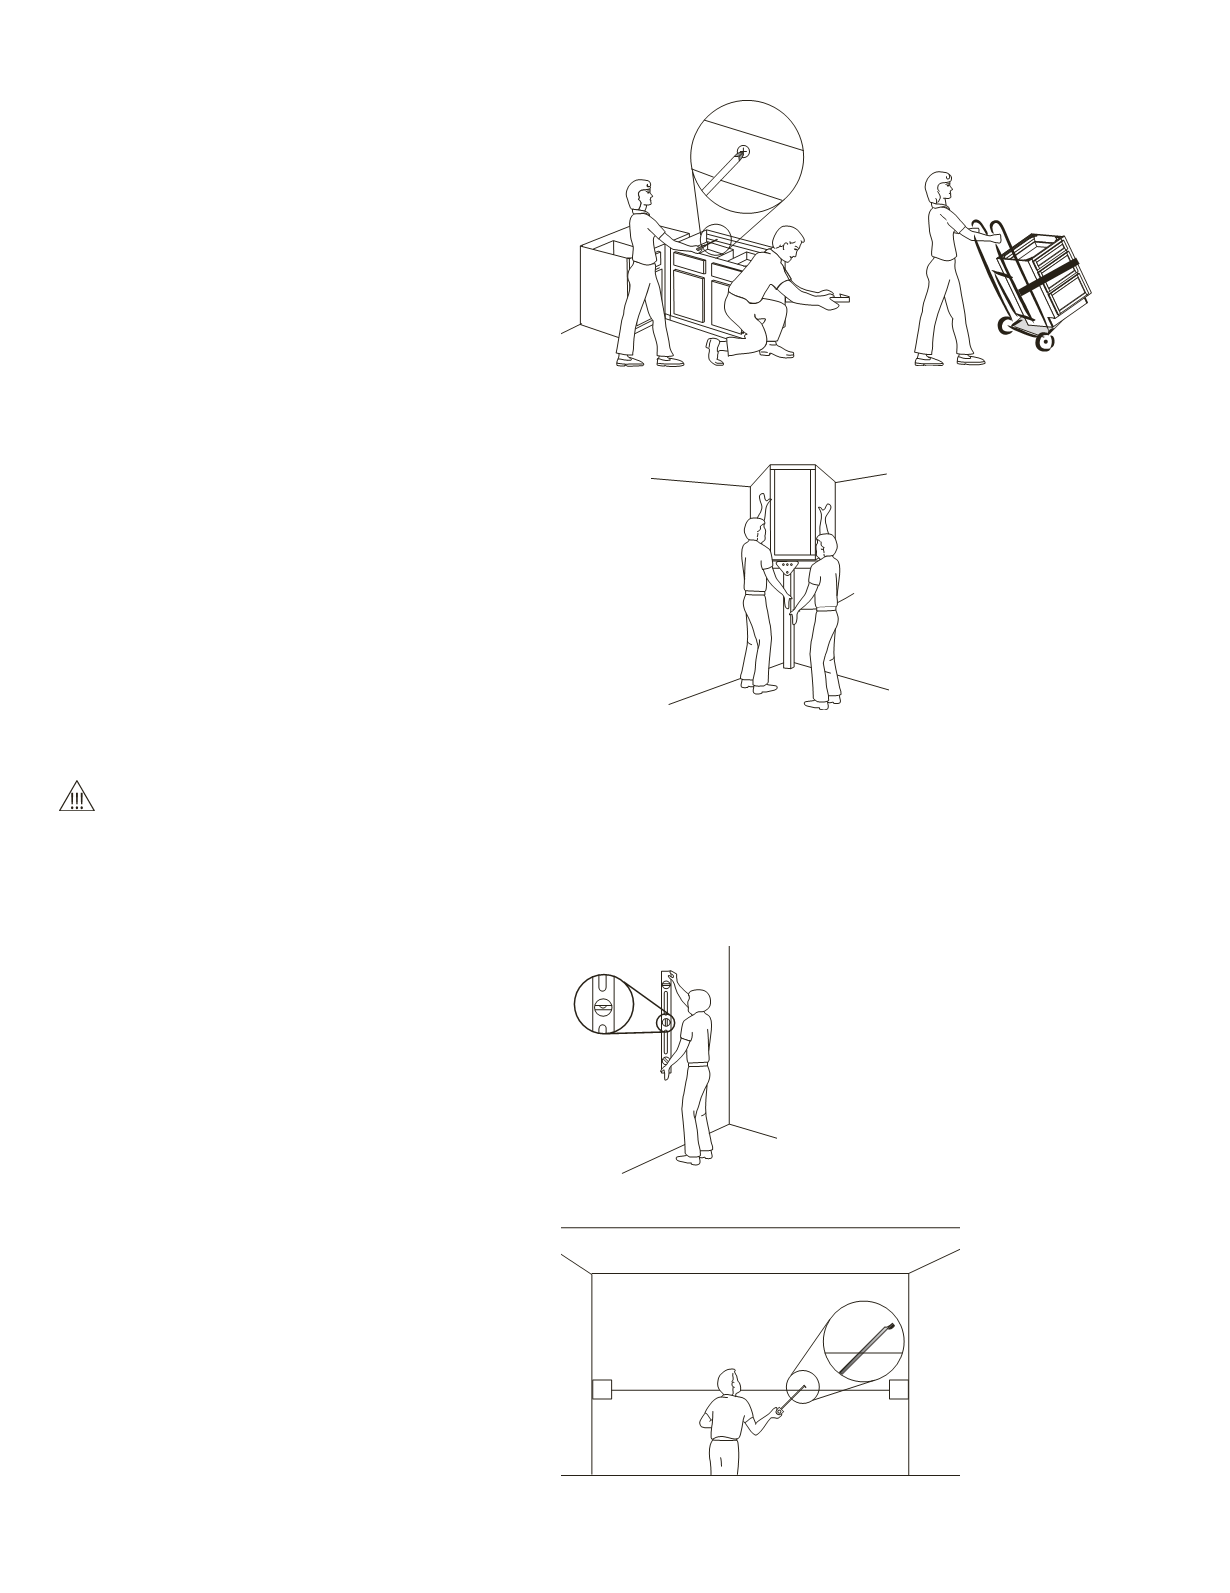
1. Your base cabinets should be removed
first. Remove the screws where possible.
2. It may be necessary to use a pry bar
and some scrap wood to dislodge the
cabinetry from the walls.
3. When possible, detach cabinetry that is
attached to each other.
4. Remove old cabinetry out of the way with
a hand truck.
B. Walls
Because base cabinets have been removed, it
will be easier to remove wall cabinetry.
1. Begin by bracing wall cabinets with a
T-Brace. The T-Brace should be cut
slightly longer than the distance from the
bottom of the wall cabinets to the floor.
Place T-Brace beneath the wall cabinets
for support.
2. The wall cabinets can now be removed in
the same manner as the base cabinets
using the T-Brace for support and another
person.
DO NOT REMOVE WALL CABINETS ALONE. IT’S BETTER TO ASK FOR HELP THAN TO PUT YOURSELF IN A
DANGEROUS SITUATION.
VIII. FINDING AND ADJUSTING OUT OF PLUMB WALLS
A. Are The Walls Plumb?
It is important to check for plumb walls
because out of plumb walls can cause
cabinets to be misaligned, thereby causing
racking or twisting of doors. There are two
ways to check for uneven spots in walls:
the straight edge method and the string line
method.
1. Straight Edge Method
Hold your level vertical to the wall. The
walls should be plumb where you want your
new cabinets to be installed.
2. String Line Method
Begin by fastening two blocks of equal
thickness to each corner of a wall.
Fasten a tight string line from block to
block. Measure from string to wall every
6” to 12” to check distance. If distance
varies, then the walls are out of plumb.