


 787 / 878

Premier–12–7
Marketing Materials
D
oors
L
ayout
Decorative Door Options • Decorative Door Options Glass
Every Room for Everyday Living • Storage & Accessory Solutions
Door, Overlay & Material Options • Start with a Beautiful Finish
Heirloom Quality Construction Estate & Elegant Bath • Heirloom Quality Construction Wellborn
Belmont MDF Glacier
Loft Laminate Natural Maple
Newport Thermofoil Linen
Prairie Cherry Caramel
Harvest Square Cherry Cocoa Java
Bedford Square Maple Coffee
Millbrook Square Maple Spiceberry
Concord Maple Sable
Henlow Square Oak Blush*
Davenport Square Cherry Caramel Java*
Wellington Maple Crème Fawn Brush Finish*
Modesto Hickory Natural Slate
Barcelona Oak Shadow
Bristol Oak Sable Charcoal
Savannah Oak Drift Pewter
Bridgeport Cherry Chestnut Olde World
Madison Square Character Cherry Chestnut
Bali Cherry Nutmeg Java
Chelsea Cherry Cloud Slate
Napa Cherry Dark Charcoal
Venice Cherry Espresso
Milan Cherry Light
New Haven Cherry Garnet
Seville Square Character Maple Ginger Java Heirloom
Vienna Maple Evergreen Java
Winslow Maple Wheat Slate Antique
Davenport Square Maple Porcelain Pewter
Sonoma Maple Oatmeal
Antigua Maple Honey Butter
Rose Hall Square Maple Vanilla
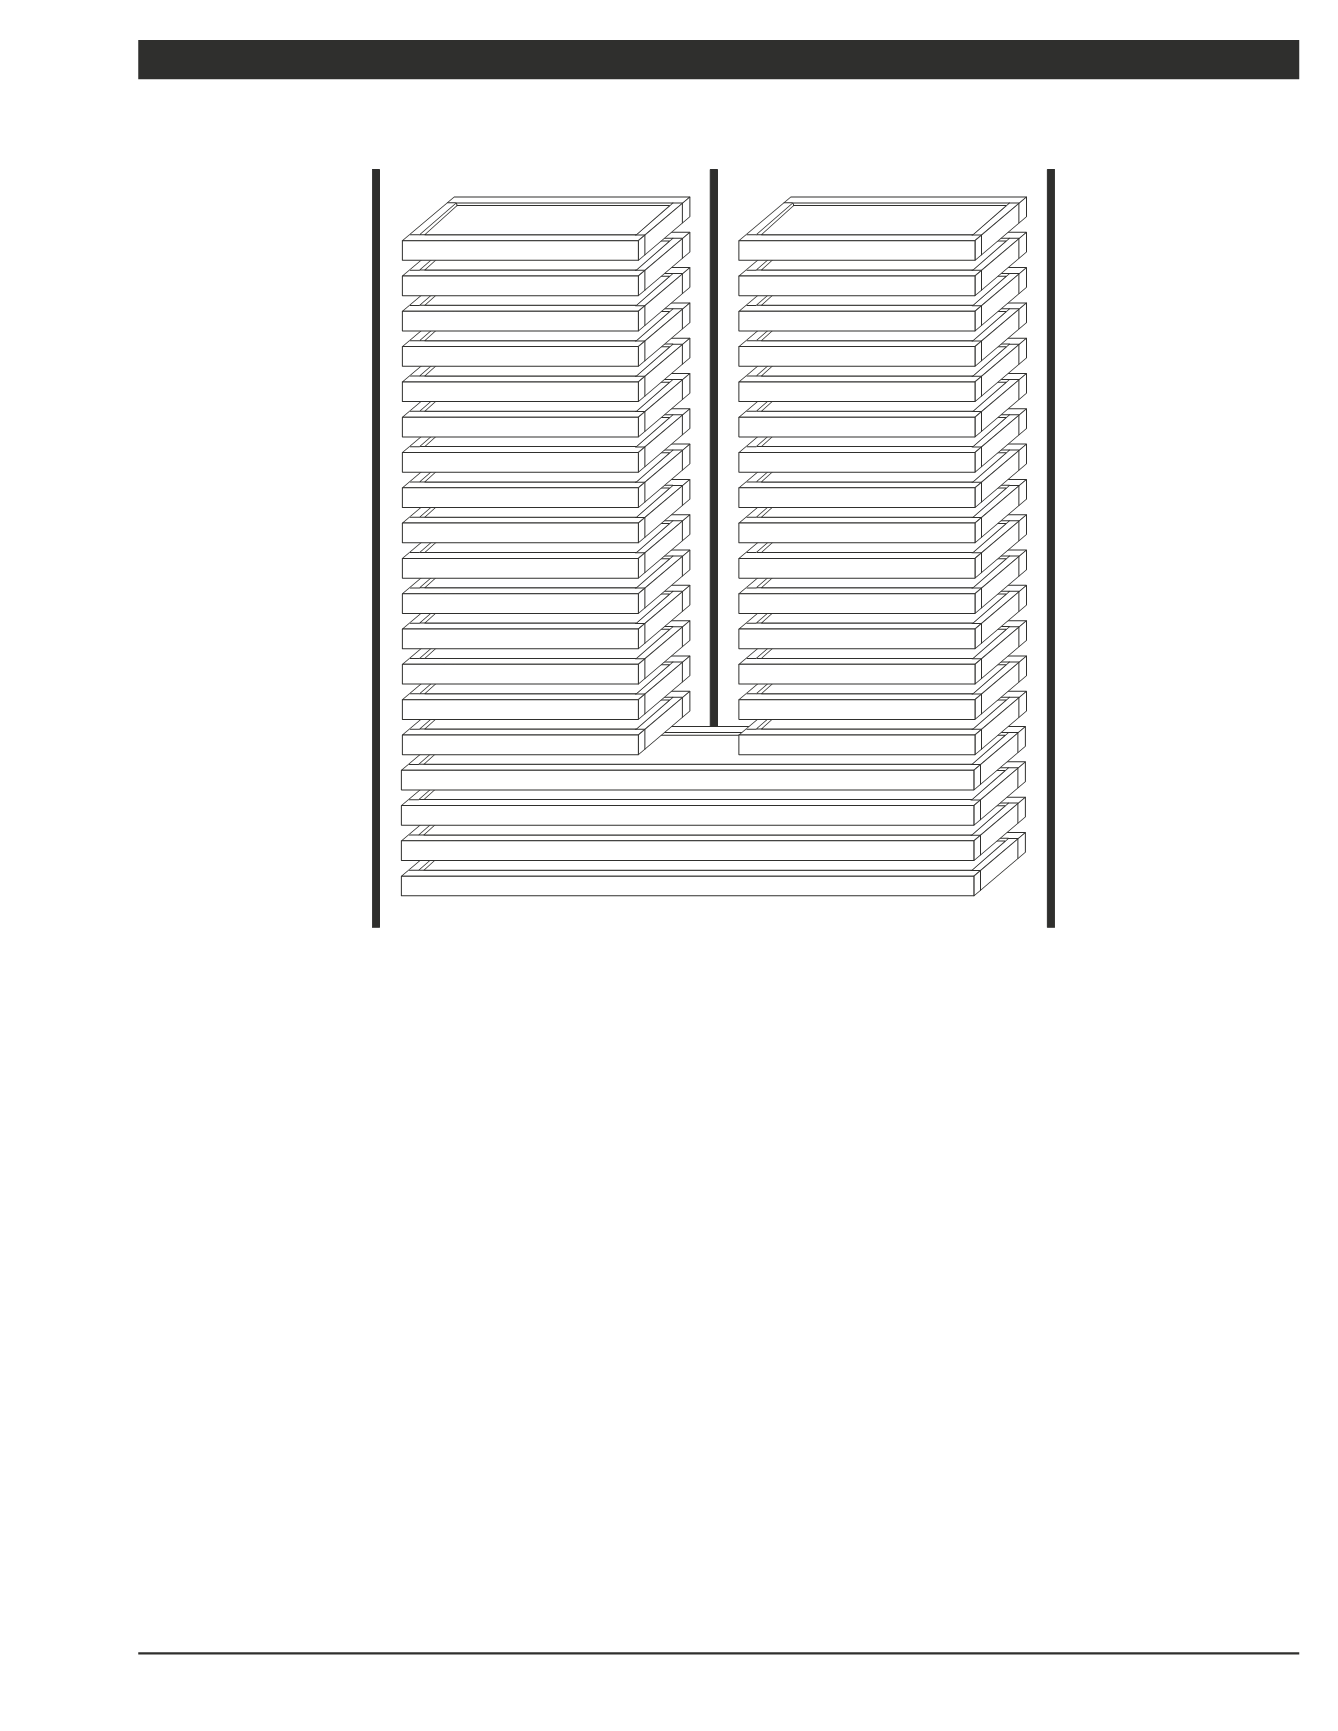
Top
Bottom
1. Remove wood strips from crate.
2. Remove front panel.
3. Carefully remove base moulding. Base moulding is fully
assembled to fit base.
4. Lay crate on back and remove 6- 2” screws from bottom
(3 each end).
5. Lay crate back down and remove 8- 2” screws from back.
6. Remove Design Center top from crate.
7. Lay top on the back side and remove shipping bars.
8. Set top onto top of base cabinet, making sure all perimeter
moulding is overlapping base cabinet.
9. When top is aligned, set 8- 2” screws (already started 4
each side) into base.
The Design Center is already built with a slight back tilt to
assure doors stay in the closed position. If doors do not stay
in the closed position, slightly tilt back until all doors stay in
the closed position.
Base moulding is designed to fit when installed on hard floor
surface (wood, tile, etc.). When installed on carpet, Design
Center may need raising approximately ½”, depending on nap
of carpet.
To install doors, slide top of hinge into top hole until bottom
of hinge goes over moulding. Hold door in upright position
and slide bottom of hinge into bottom hole.
Door will stop at preset height.
Installation Instructions